Kitchen Design: Why Details Matter

Kitchen Design: Why Details Matter

In the world of kitchen and bath design, paying attention to the details of your hardware, faucets, tile, and countertops will set your design apart from the rest.

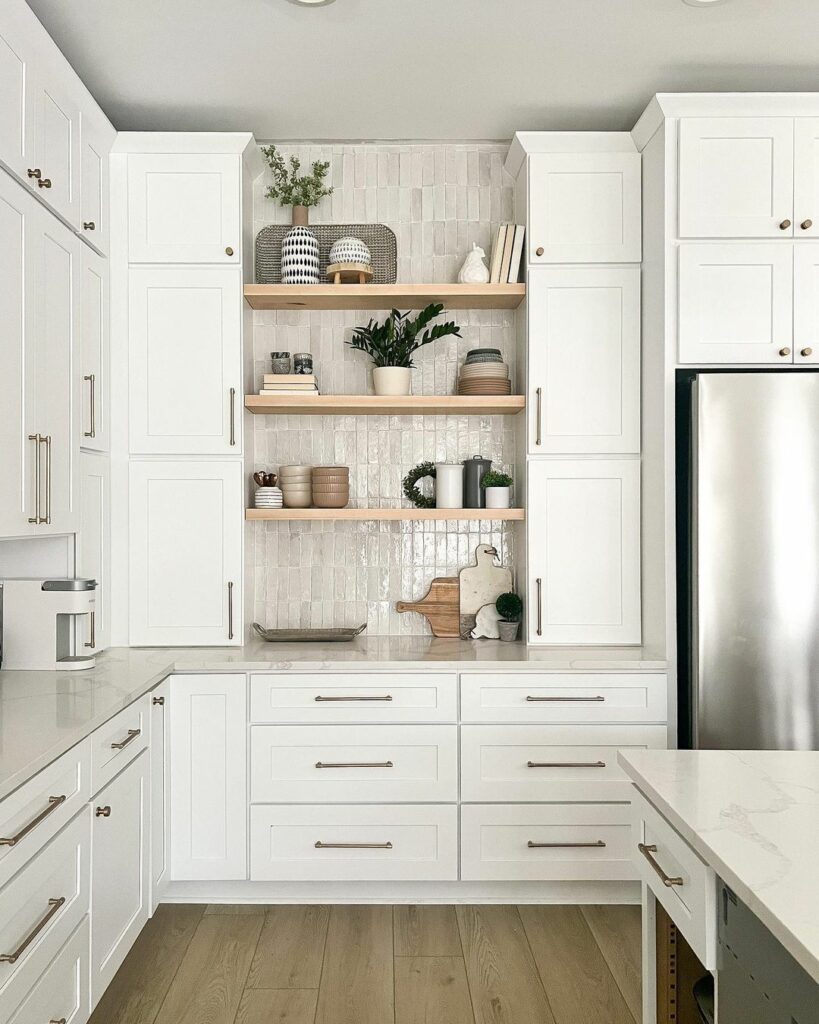
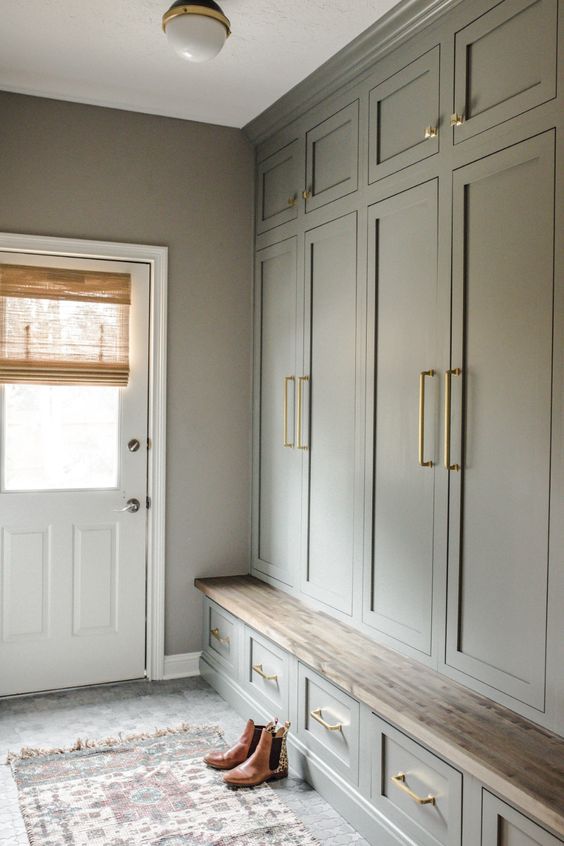
The Power of Hardware

It’s easy to overlook the small things, but in kitchen design, hardware can play a monumental role in both the functionality and aesthetics of your space. Think of cabinet knobs and drawer pulls as the jewelry of your kitchen – the right pieces can elevate the entire look. Durable and stylish hardware not only stands the test of time but also ties together your design elements, creating a cohesive and inviting atmosphere that is both trustworthy and down-to-earth.

gold color cabinet hardware in modern kitchen design


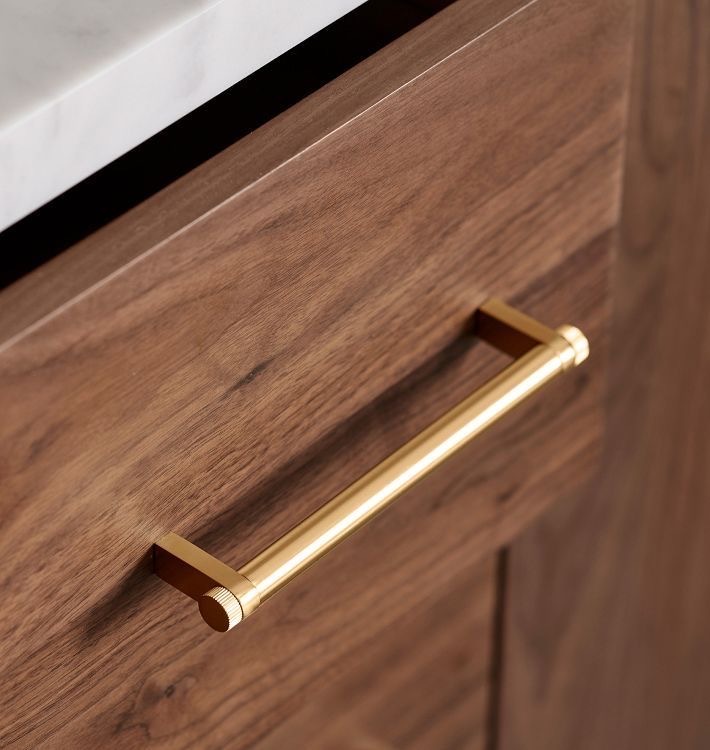
Moreover, the tactile experience of using well-crafted hardware adds a level of comfort and luxury to daily kitchen tasks. It’s these thoughtful details that make a space more than just a place to cook – they make it a place to live.


A Surprising Focal Point: Faucets

Faucets may seem utilitarian, but they can be one of the most impactful design choices in your kitchen. Today’s faucets come in a variety of styles, finishes, and technologies – from hands-free to water-efficient models. By choosing a faucet that complements your kitchen’s style, you create a surprising focal point that’s both functional and beautiful. Whether it’s a sleek, modern design or a classic, ornate piece, the right faucet can speak volumes about your attention to detail and your commitment to quality.

light and airy kitchen design with gold faucet


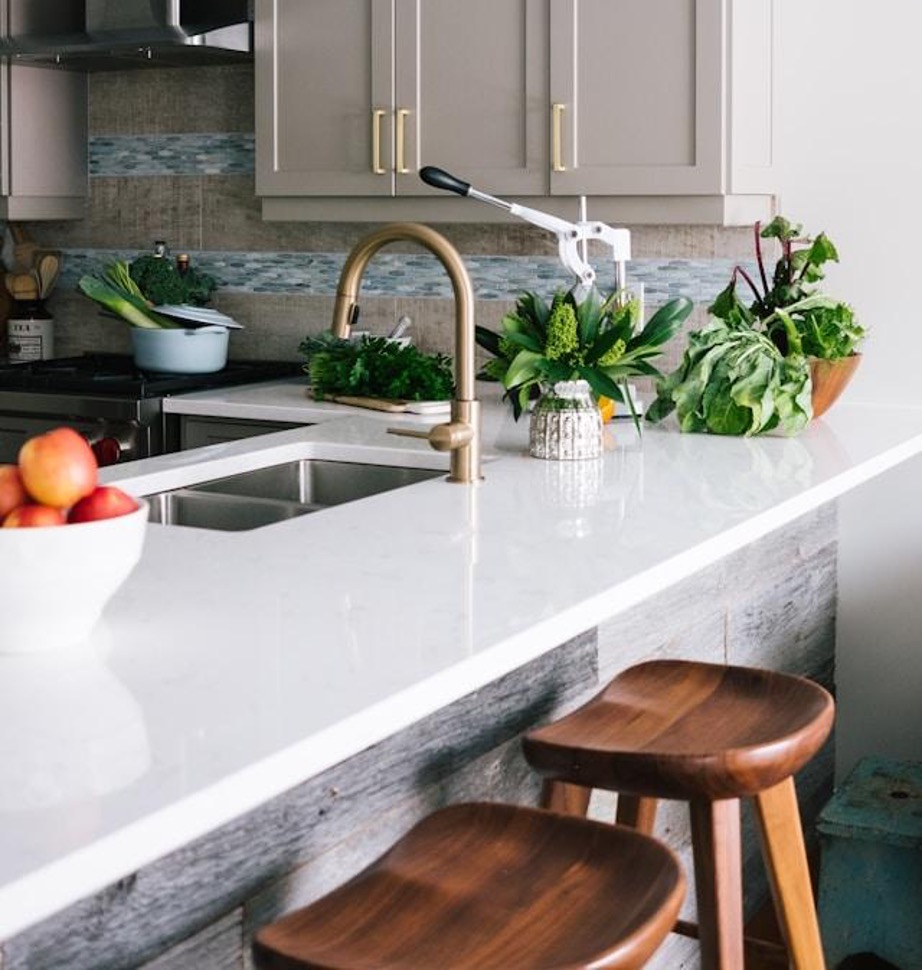
Beyond aesthetics, a well-chosen faucet can improve your kitchen’s usability. Features such as pull-down sprayers and adjustable water flow offer helpful, practical benefits that make everyday tasks easier and more enjoyable. If you really want to kick it up a notch, you can pair your faucet with a practical workstation sink. This is the kind of professional insight we love to share, ensuring your kitchen is not only visually appealing but also a paragon of efficiency.


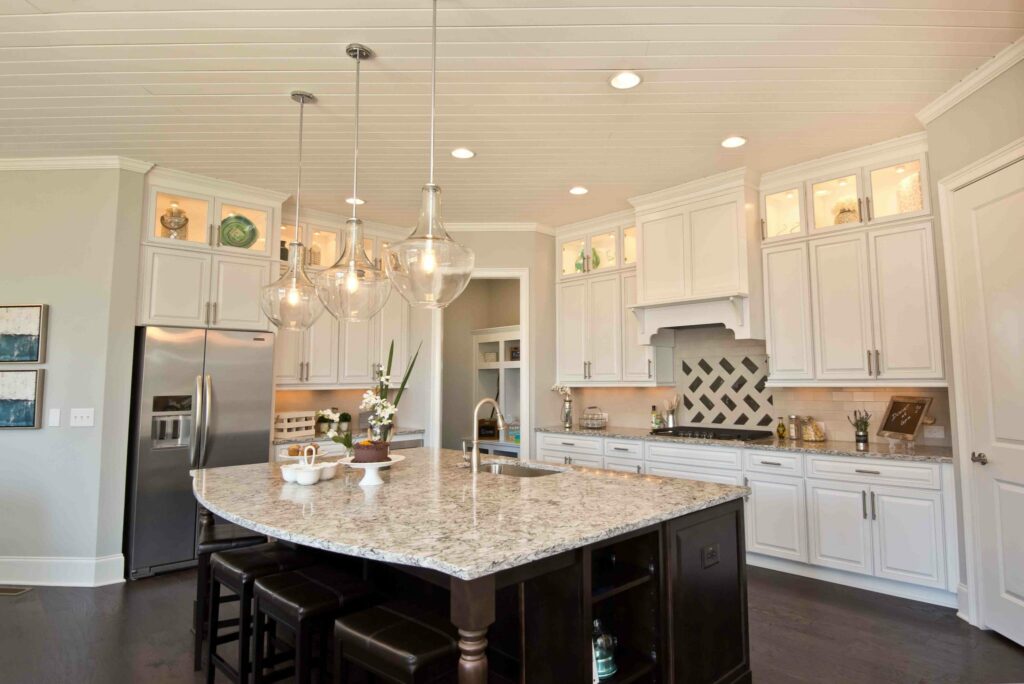
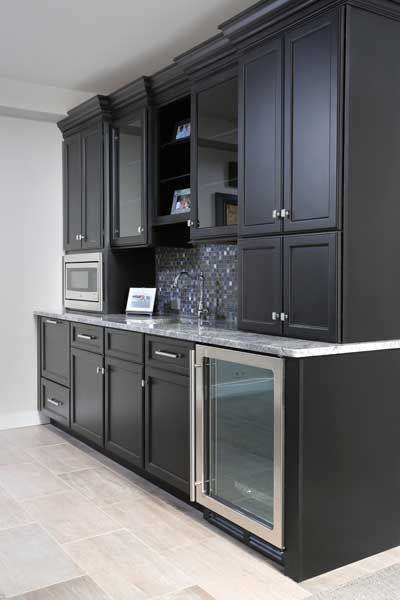
The Allure of Countertops

Countertops are the workhorse of the kitchen, and their design can dramatically affect the room’s overall appeal. From the natural elegance of granite to the modern chic of engineered stone, the materials you choose can convey a sense of luxury and durability. The right countertop balances form and function while showcasing your personal style.

Zoomed in view of a kitchen countertop with neutral, earth-toned colors


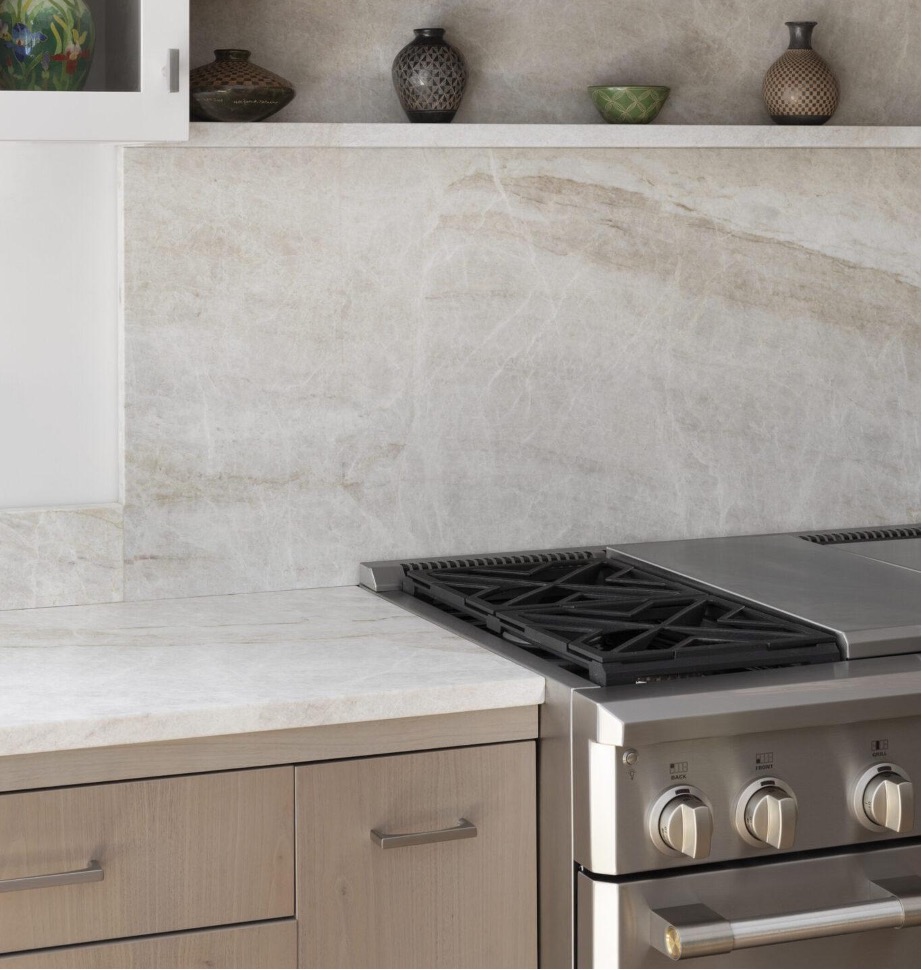
When selecting countertops, consider not only the material but also the color and edge design. These details can help to create a harmonious design that aligns with your down-to-earth values while also standing up to the rigors of daily kitchen use.
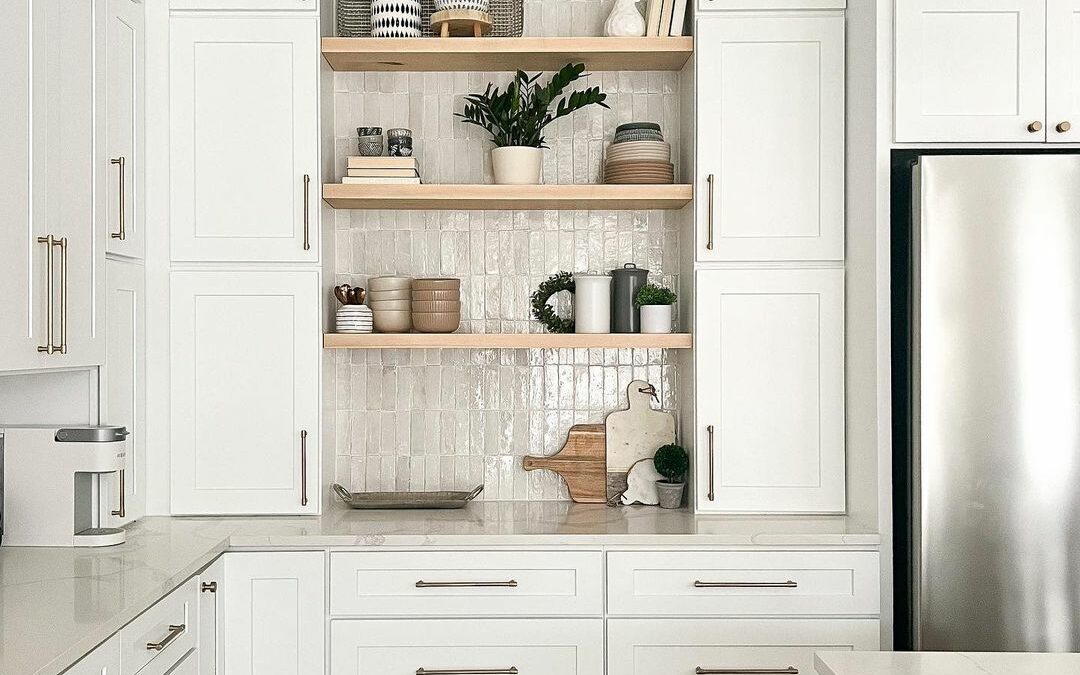
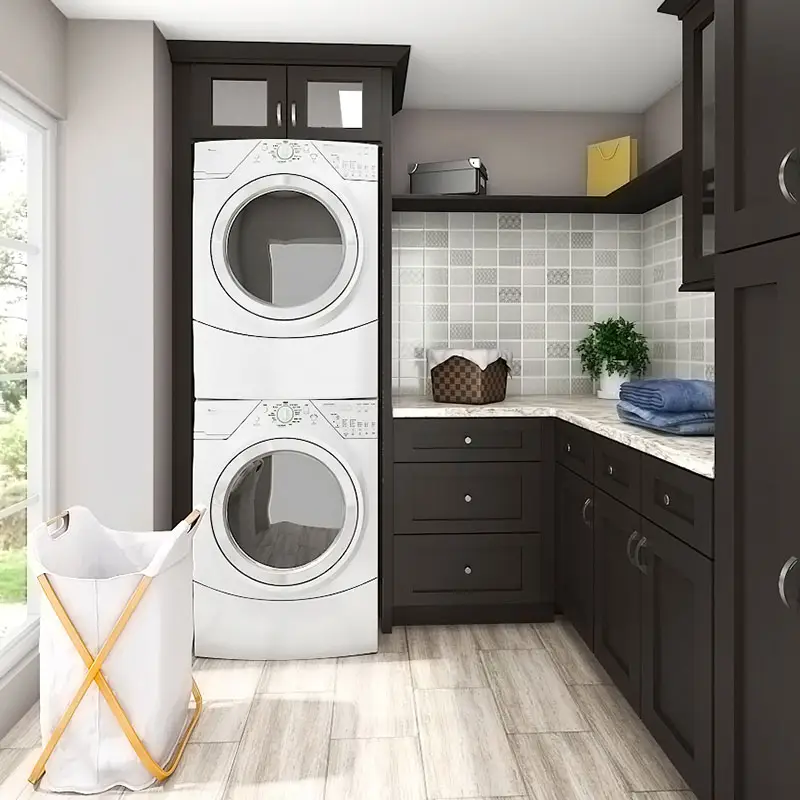
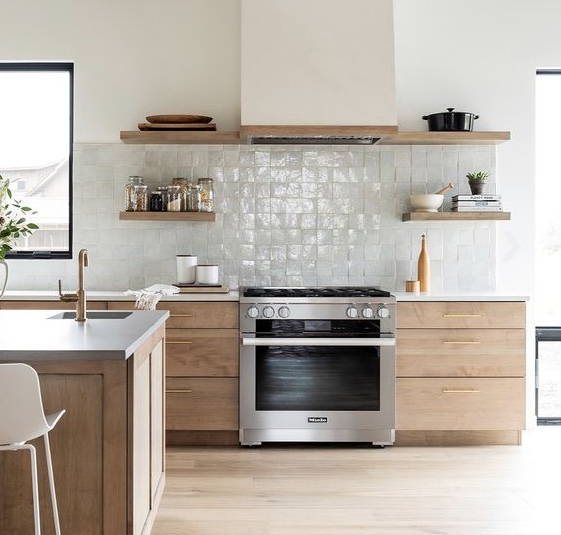
 

Intricate Tile Work

Tile work is an art form that brings intricate detail and personality to your kitchen. Whether it’s a bold backsplash or a subtly patterned floor, tile can transform a space from ordinary to extraordinary. With the plethora of options available, selecting the right tile can be a delightful challenge. We’re here to help, offering friendly advice on the latest trends and timeless designs that reflect your unique vision for your kitchen.

fun kitchen design featuring intricate tile backsplash


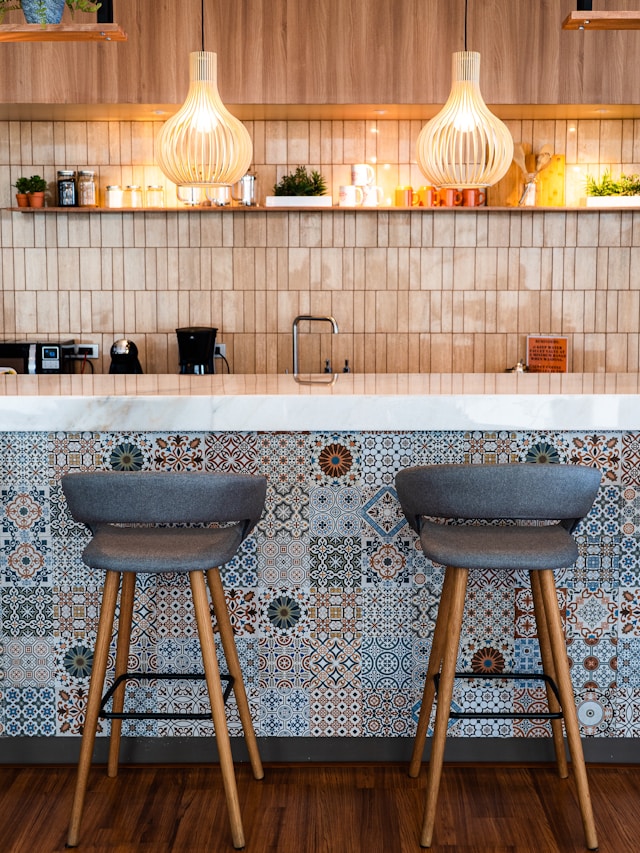
Consider how the shape, color, and texture of the tile will interact with other elements in your kitchen. A well-designed tile arrangement not only serves as a protective surface but also acts as a piece of art, contributing to the overall atmosphere of warmth and welcome in your home. Remember, it’s these finely tuned details that make your kitchen truly yours.


4 Stunning Options to Upgrade your Wall Mounted Cabinets

4 Stunning Options to Upgrade your Wall Mounted Cabinets

Upper cabinets can be a great addition to any kitchen, providing valuable storage space for plates, glasses, and other kitchen essentials. However, when it comes to choosing the right upper cabinets, there are several options to consider. Realistically considering your lifestyle, items you need to store and how you use your kitchen space.

42′ Upper Cabinets

For those with a lot of vertical space in their kitchen, 42” upper cabinets can be an excellent option. These cabinets are taller than the standard 30” or 36” cabinets, providing ample storage space for larger items or items that are used less frequently and a seamless look. The extra height can also give the kitchen a more grand and spacious feel.

Open Shelving

Open shelving has become increasingly popular in recent years, and for good reason. It can provide a more open and airy feel to the kitchen while still providing ample storage space. Open shelving also allows you to display decorative items or your favorite dishes, adding a personal touch to your kitchen. This is a great option for Air BNB’s, guest’s won’t have to guess where things are!


Crown Molding

Crown molding is a decorative trim that can be added to the top of upper cabinets. It adds a polished look to the cabinets and can help tie the overall look of the kitchen together. Crown molding can be simple or ornate, depending on your preference, and can come in a variety of materials such as wood or MDF. One perk of crown molding is that it can close the gap between your upper cabinets and your ceiling, preventing dust and grime from accumulating on the top of the cabinets. Most people choose to go with 36’ or 39’ upper cabinets to alot for room for crown molding, but it depends on the height of your ceiling.

Glass Fronted Cabinets

Glass fronted cabinets are a great way to showcase your favorite dishes or decorative items. They provide a lighter, more open feel to the kitchen as the glass allows light to pass through. Glass cabinets can give you the creative space to add pops of color with decoration pieces. You can express your taste and add visual appeal with different textures or types of glass.

Feeling inspired? Reach out at our contact page to hear from one of our professional designers to learn more about your personalized options for your home!

How to measure your own space

How to measure your own space

Are you getting ready for a new project and need measurements? Have no fear, we’re here to take you through step by step so you can accurately map out your space without any headache! To begin, you will need:

  • tape measure
  • step stool or ladder
  • pencil
  • planning grid/scratch paper
  • calculator
  • laser measuring tool (not necessary, but can be used to double check measurements)

When measuring, you should be as precise as possible and take the measurements twice to ensure accuracy. Even rounding too far to the next fraction can be a costly mistake.  All measurements should be written in inches. 

How to Measure Step-by-Step

This step-by-step guide will ensure that homeowners will have the correct measurements for their new kitchen cabinets.

  1. Make a Rough Sketch.  The first step is to draw a rough plan of the existing kitchen, or the new blueprint if anything in the kitchen will be changed.  The use of grid paper can make drawing the layout easier.  All appliances, windows, and doors should be labeled. Electrical, plumbing, and vents should also be marked.

    The layout drawing does not need to be perfect, but it should be clear and easy for your designer to understand.
  1. Take Horizontal Measurements.  You will need to measure the entire length of all the walls in the space. This is necessary so the designer knows how they can reconfigure the new cabinets.  Measurements should be taken from wall edge to wall edge in order to get the total space. The measurements for openings like doors or windows are taken from one side of the trim to the other side of trim. The trim or molding around it are included in the measurement. If they are only replacing cabinets within the current layout, then measurements of the current cabinets should be included as well( see step 6). Tip:  All of the numbers should be written clearly so they are legible later and rounded to the nearest one-sixteenth of an inch.

  1. Take Vertical Measurements.  The distance from floor to ceiling at each corner and the middle of each wall should be noted on the rough sketch. The house might have settled so it is important to measure several parts of the wall. The ceiling height indicated the ideal height of the upper cabinets. Measurements should take soffits into consideration. A soffit is a box-shaped structure that generally hides mechanical components between your cabinets and ceiling. If the kitchen has soffits, measure from the floor to the bottom of the soffit and please note the height of the soffit itself.  Ceiling heights are normally 8 feet in older homes, and 9 feet in newer homes.  Some homes might have even higher ceilings of 10 to 12 feet.
  1. Find the Center Point of Existing appliances.  Unless the kitchen layout is completely changing, existing features of the kitchen such as appliances, sink, and windows must be considered.  You should measure the center point of all features. To find the center point of the sink or stove, start at the end closest to the wall and measure toward the sink or stove. The measurement stops at the middle part of the sink or center of the stove.  If the sink or stove is located in an island, measure to the end of the island. For water and gas lines, measure from the wall to the center of the pipe or center of the appliance if it is still there. 
  1. Measure Doors and Windows. The same process should be completed for the windows and doors, the height and width should be recorded as well. Windows come in a variety of sizes, especially depending on the age of the home, so it is best to take kitchen window measurements twice. It is important to measure the distance from the bottom window trim to the floor. This measurement will let our designer know what type of cabinetry (if any) can go under the window.Make sure to include trim in all of your window and door measurements! 
  1. If you want to recreate your current layout: Measure Existing Cabinets. The existing cabinets should also be measured to see what will fit.  You should measure the height, width, and depth to get an idea of what the current cabinets are and if that size will work for the kitchen renovation. 

And there you have it! Send your measurements in to your cabinetry provider of choice (perhaps Ridge Cabinetry?) and begin the design process!

Learning the Lingo: Toe Kick

Learning the Lingo: Toe Kick

What is toe kick and do you need it?

unfinished toe kick on a wood cabinet.
Unfinished cabinet toe kick

If you’re taking on a kitchen renovation, you’ll probably come across terms you haven’t heard before. We’re tackling some niche cabinetry lingo one by one to help you with your next project. First term we want to cover, toe kick. 

At the bottom of every base cabinet in your kitchen or bathroom, you’ll notice a recessed area between the bottom of the door and the floor. This area is called a toe kick, and it’s an ergonomic feature to make it more comfortable to work at the countertop or sink.

It gives you a spot to slide your toes under the cabinets without bumping into the front, so you can get up closer to your work. Without a toe kick, you’d have to bend forward and put strain on your back.

Most cabinet lines come with an unfinished bottom, showing the raw wood or particle board at the bottom. Toe kick in a matching finish or paint color allows for a cohesive, professional look.

One question we get a lot is what is a perfect toe kick height? The optimal height for a toe kick is about 4.5 inches, but it’s not uncommon to see a various size range in toe kicks. Taller sizes in toe kick are necessary when planning for cooks with varying abilities in your kitchen. If one of your cooks is wheelchair bound, a 9” toe kick will allow them to comfortably access the counter tops.  Whereas the 4.5” provides an adequate recess to stand comfortably and maintain balance while working at a countertop, without sacrificing any visibility or workspace. 

finished toe kick on a white cabinet
Finished toe kick

So, if toe kick is necessary why isnt it built in? Well, not all floors are perfectly level, and not all cabinet bases are perfectly level either. An important step in base cabinet installation involves shimming the cabinets to make sure they’re all level at the top. And those shims mean there might be a gap between the bottom of the cabinet, and the floor.

That’s where toe kick comes in. Because it’s a separate piece, you can trim it to the exact shape you need, to make sure there’s no gap, and to ensure that your cabinets look fully finished.

Stay tuned while we unpack common home renovations terms to help you sound like a pro on your next project!

5 Spaces You Can Get Creative with Cabinetry

5 Spaces You Can Get Creative with Cabinetry

5 Spaces You Can Get Creative with Cabinetry

Everyone knows how convenient cabinets are in a kitchen, but have you thought about how convenient they’d be in other places in your home? Our cabinets are made to maximize your storage in any room. With their dovetail construction and premium soft close hinges & glides, they are structured to survive even the toughest of love. From custom cabinets to RTA, you have a plethora of cabinetry to choose from to create the space of your dreams. Here are five spaces you can get the most creative with cabinetry!


1. Garage

The garage is often overlooked as a fantastic area for high quality cabinets. With all the space a garage provides, use cabinetry to keep it functional and organized. A built in workbench is ideal for any handyperson, and provides the space and organization you need for your next big project. Design is our specialty! Let us create an ideal layout for you to store your tools, holiday décor, or whatever else you have cluttering your garage.


2. Laundry Room

Imagine the convenience of a hamper insert to free up space or a garbage insert for lint. Pantries are the perfect option for storing cleaning supplies, towels, clothes, etc. Add a countertop over the washer and dryer to give you the tablespace you need for folding, then a sink to bring the room together!


3. Basement

The basement offers plenty of creative ways to use cabinetry. Think about that home office you’ve always wanted or a playroom for the kids. If it’s a smaller area, a wet bar is a great option to liven up the area. Maybe add an island and some bar stools for that basement bar feel. Our designers will come up with the most creative ideas so you can be sure you get the most out of that extra space!


4. Living Room

Who says you can’t have cabinets in your living room? It’s a perfect way to bring your living room to life by creating a beautiful entertainment space. Building around the TV brings symmetry to the space while adding ample storage to the area you’ll be spending the most of your time in. From bulky blankets to the kids toys, you’ll always find a use for your living room cabinets! 


5. Mud Room

Utilize an open wall/entryway to create a beautiful, functional space. It is a great place to store your shoes and jackets as it makes the area look less cluttered and more polished. Your guests will appreciate a bench to sit on while taking off their shoes as much as you’ll appreciate the storage that comes with it.